
Easter is almost always an exciting time for kids. Even as parents of young children, thinking of unique ways for your kids to color and design their Easter eggs can be a lot of fun. Have you tried using shaving cream? It is the new fad.
Once you are done, don’t forget to enter your decorated eggs into our contest for a chance to win $25 to Amazon!
Why Shaving Cream Rocks to Dye Easter Eggs
It is super easy and the children can be more involved. It is also less mess! No dyed clothes or counter tops!
Another nice thing about using shaving cream to dye the Easter Eggs is the price – it is extremely affordable and can easily be found and bought in any store for less than a buck! Talk about being cost-effective! Also, check to make sure that the product you are buying is not shaving gel, because while cream will stick, gel will not.
Step By Step Instructions
- First, search for and take your regular food coloring materials out of the cabinet, or if you don’t have this yet, head out and buy some cheap liquid food coloring dyes at any store.
- Pick up and prepare about 2 cans of shaving cream and double check the label to make sure it is not shaving gel.
- Get a flat-bottom bowl, dish or a glass pan for the eggs to roll in. A metal pan will do just fine, but glass material is better because it will not absorb the colored dye that metal pans tend to soak up in their small scratches and pits.
- Read the back of the food coloring dye for directions on how to make new fun colors out of the primary colors that you already have access to. Protect the counter-tops or the work area with newspapers or magazines and then place a small bowl or a cup to the side for the mixing of colors. Note: Do not be afraid to experiment. Also, remember to pick the color that your little one likes the best.
- Take the can of shaving cream and spray a single layer at the bottom of the glass or metal pan. Estimate the layer to be no more than an inch.
- Spread out and smooth the shaving cream with a spatula so that the coloring is evenly spread and will not pool together or run down in slopes.
- Prepare the colors that you have created and place a medicine dropper in each color. A palette of just 2 to 4 chosen colors is a great way to produce vibrant eggs.
- Apply a few drops of different colored dyes in random places all over the pan of shaving cream. If you’d like to make your swirls more colorful, then just remember to check and make sure that you don’t have any same-colored drops beside each other. The more randomly you place your colors, the better the swirl should turn out.
- Using a thin toothpick, a lollipop stick or any narrow stick, slash through the shaving cream surface and drag it through the cream using random lines. Big loops, small circles and long swirls will provide a great layering effect.
- When you’re ready to produce a Picasso-like painting or great swirly and colorful art, it is time for the egg to be decorated. Place the egg at one end of the glass pan of the shaving cream layer.
- Gently use force to push the egg in the straightest line that you can manage from one side to the other.
- Pick the Easter egg up carefully and put it in a cardboard box so that it is unable to roll off of the counter top.
- Let it remain there until the shaving cream dries out. It normally takes about 5 to 10 minutes, and from this point onward you can clean it.
- Prepare a paper towel and clean it by gently removing all of the shaving cream from the egg.
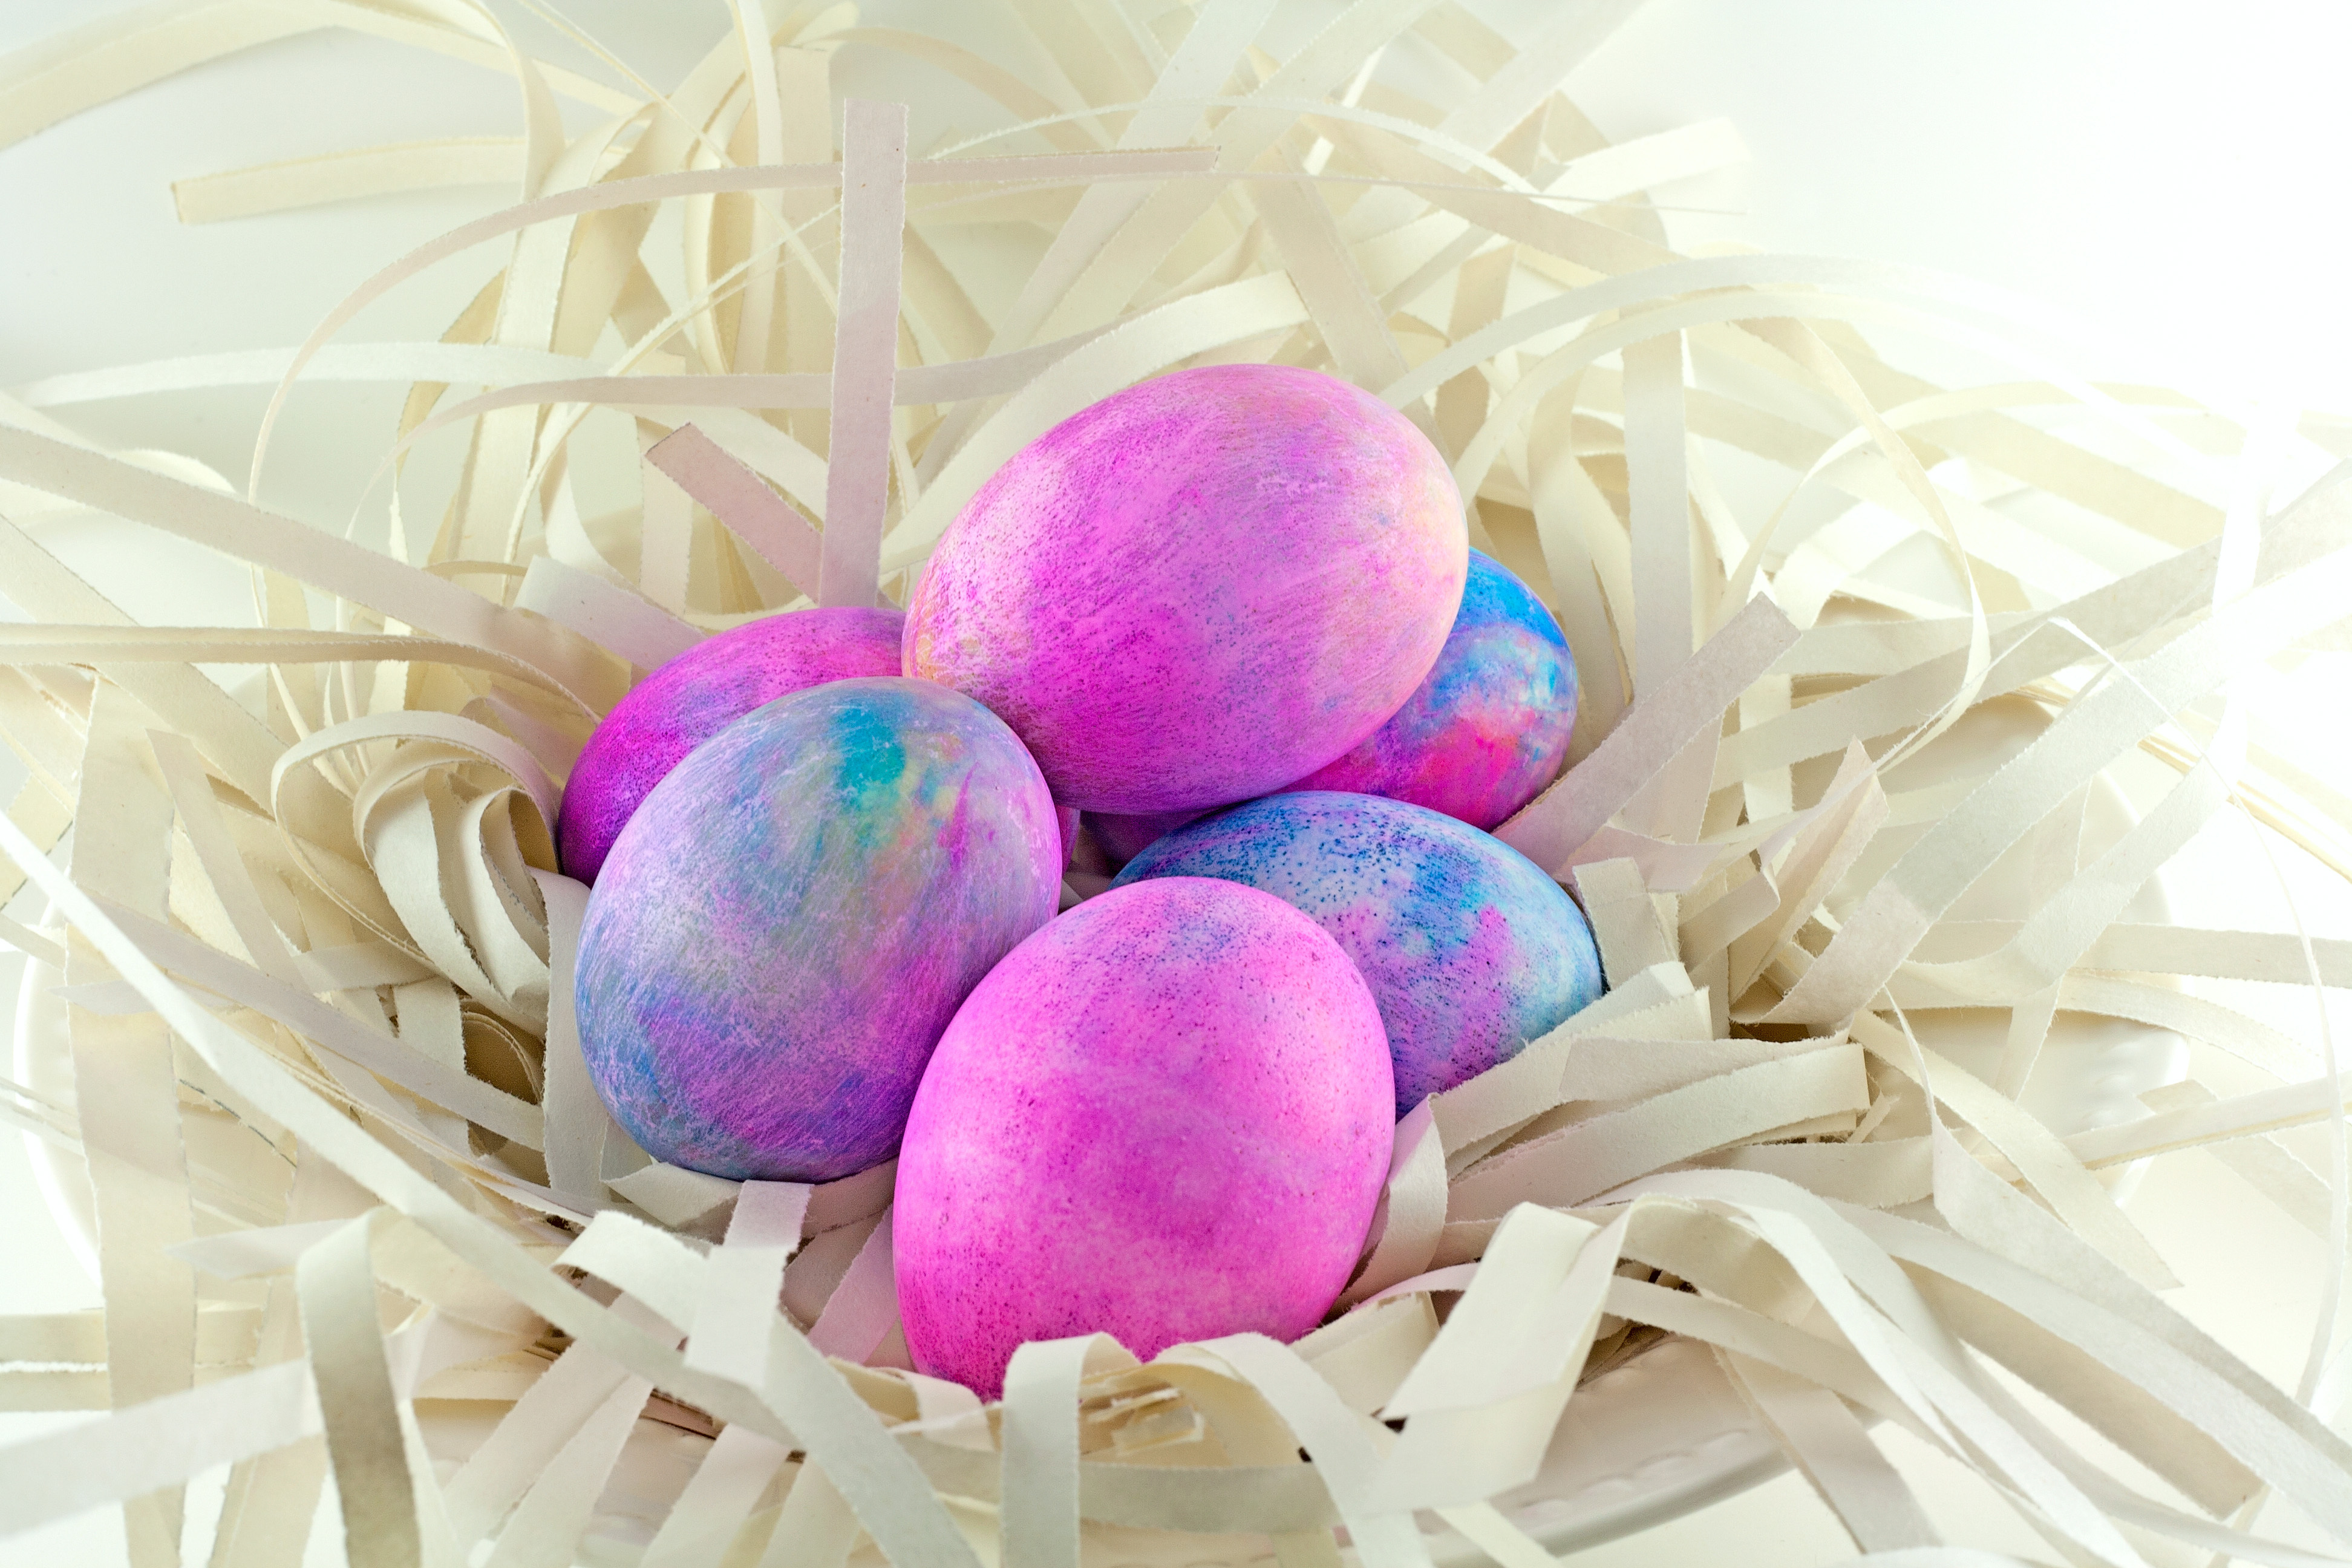
When you remove the shaving cream, the food coloring should show up on the Easter eggs.
So, parents – make it a fun and unforgettable bonding experience for you and your kids, as you share this easy project with your family and learn something new at the same time. For even more fun, you can take it a step further by entering your eggs into our Easter egg decorating contest here on the Global Student Network. You could win $25 from Amazon!